

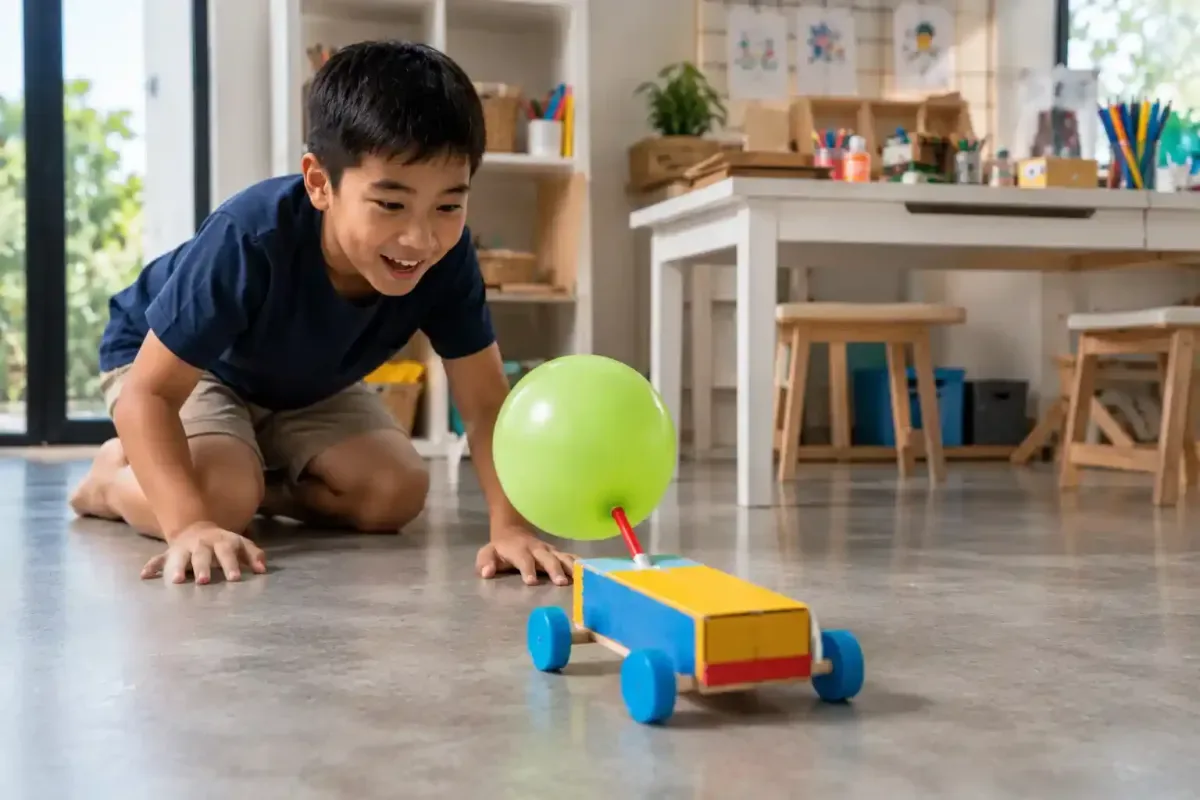
What if you could make a car move without batteries, a motor, or even a push?
It sounds impossible, but you can do it with a balloon.
Today you are going to build a small car powered by air. You will use simple materials to create the body, wheels, axles, and balloon engine. Then you will test your car to see how far it can travel.
But there is more to this project than making a car move.
You will be thinking like an engineer.
If your car does not travel very far, you can change the design and try again. Maybe the wheels need to be straighter. Maybe the car is too heavy. Maybe the balloon needs a different position.
That is the exciting part.
You are not just following instructions. You are testing an idea and figuring out how to make it better.
What You Will Need
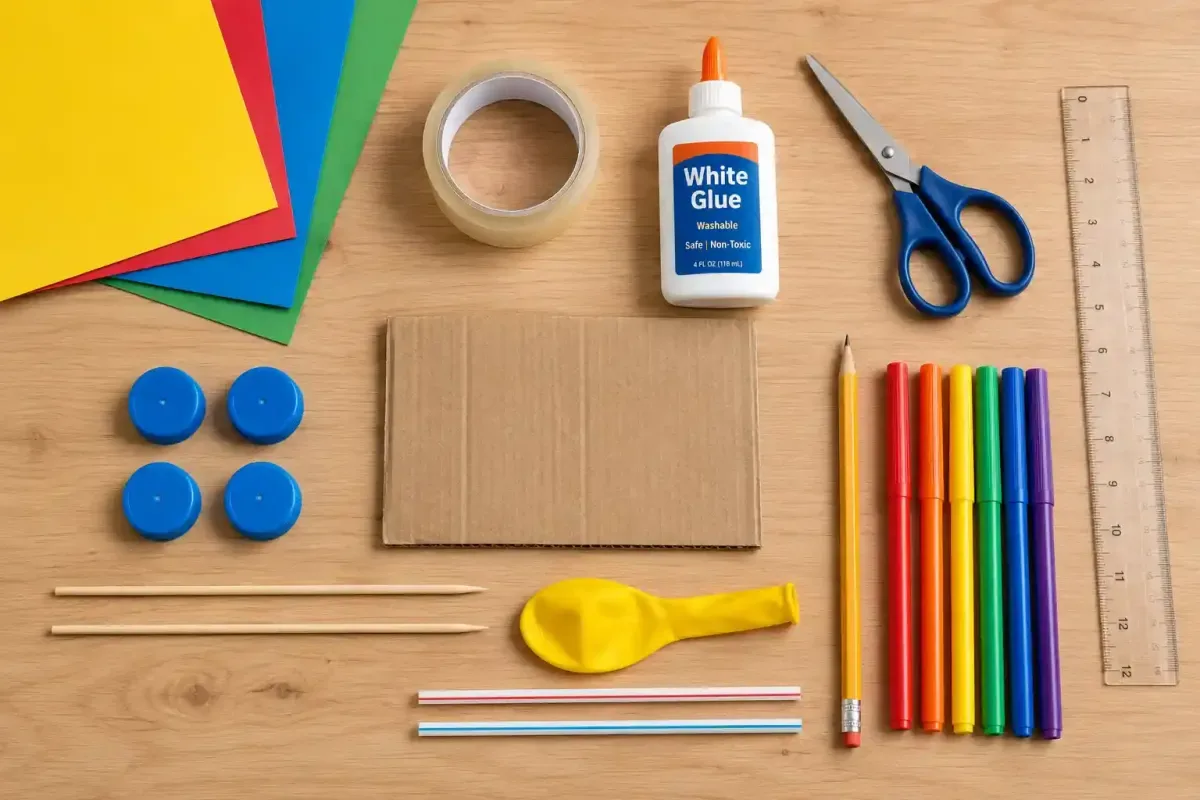
You will need:
One lightweight cardboard rectangle for the car body
Four plastic bottle caps for wheels
Two straight wooden skewers for axles
Two short pieces of drinking straw
One flexible drinking straw for the balloon
One balloon
Cardboard or strong tape
Glue
Scissors
A ruler
A pencil
Markers or colored paper for decorating
Ask an adult to help with cutting or any part that feels difficult.
Before you begin, make sure your workspace is clear. You want plenty of room to test your car later.
Step 1: Build the Car Body
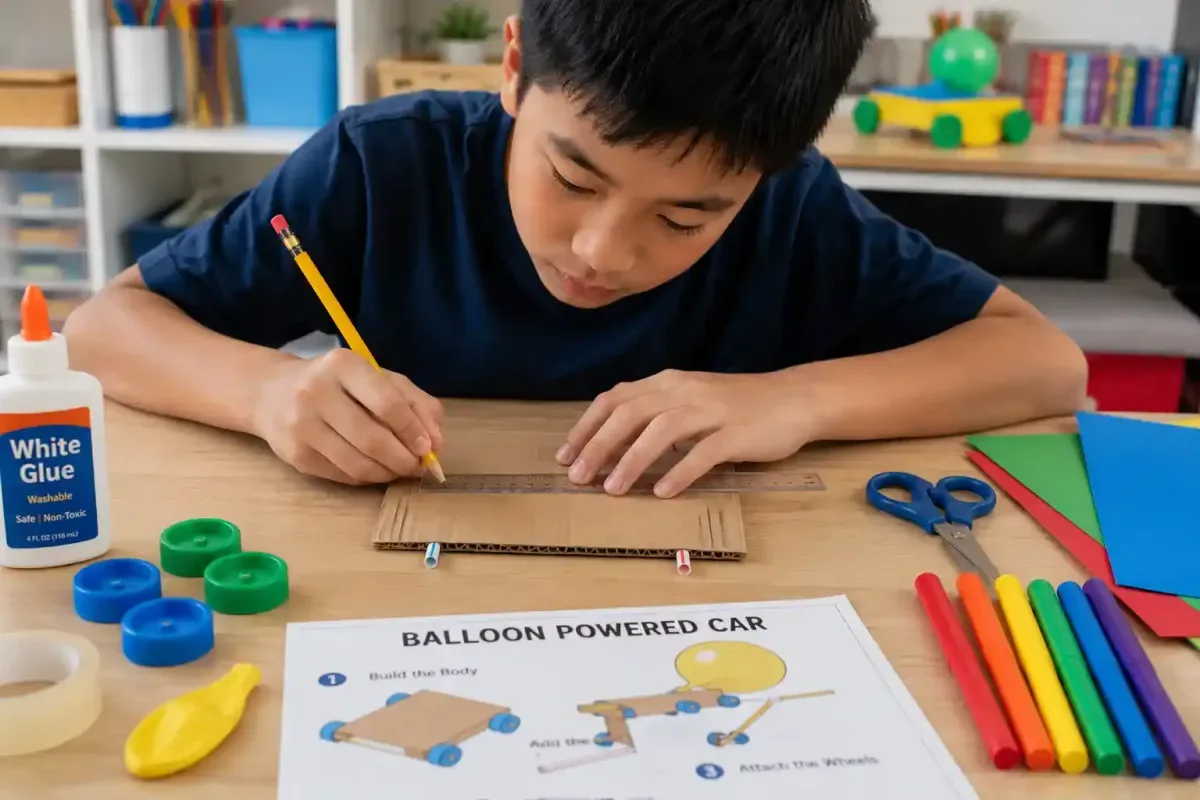
Start with the cardboard body.
A rectangle about the size of your hand is a good starting point.
It should be lightweight but strong enough to hold the wheels and balloon.
Use a ruler to mark where the two axles will go.
Try to keep the axle positions parallel.
This is important.
If one axle is crooked, your wheels may point in different directions. Your car could turn instead of traveling straight.
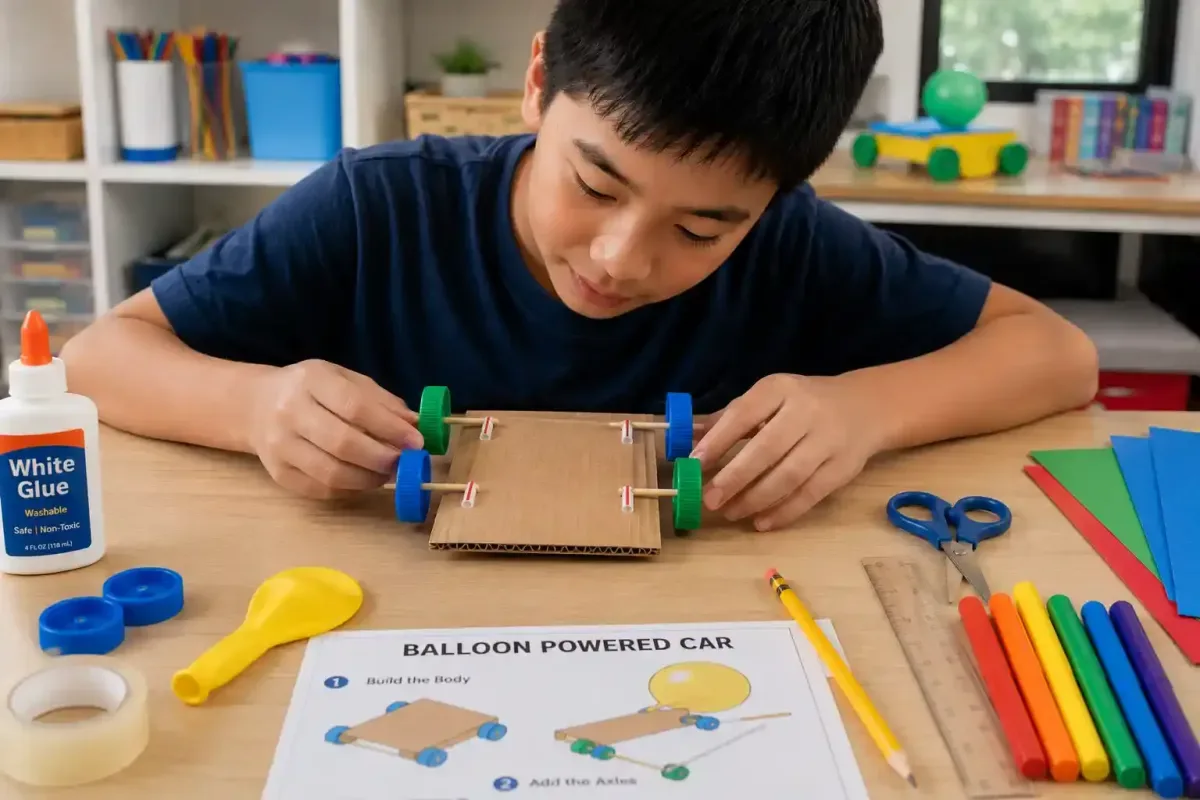
Attach two short pieces of straw underneath the cardboard body. These will act as little tunnels for the axles.
Make sure the straws can stay straight and allow the skewers to spin freely.
Step 2: Add the Wheels
Now comes the part that makes your car a car.
Push one wooden skewer through each straw.
These are your axles.
Next, attach a bottle cap to each end of the axles.
The four wheels should be roughly the same size.
Check each wheel carefully.
Do they spin?
Are they straight?
Does anything rub against the cardboard?
Give your car a gentle push across the table.
If it rolls smoothly, you are ready for the next step.
If it wobbles or turns sharply, stop and fix the wheels before continuing.
A small adjustment now can make a huge difference later.
Step 3: Create the Balloon Engine
Your balloon is going to provide the power.
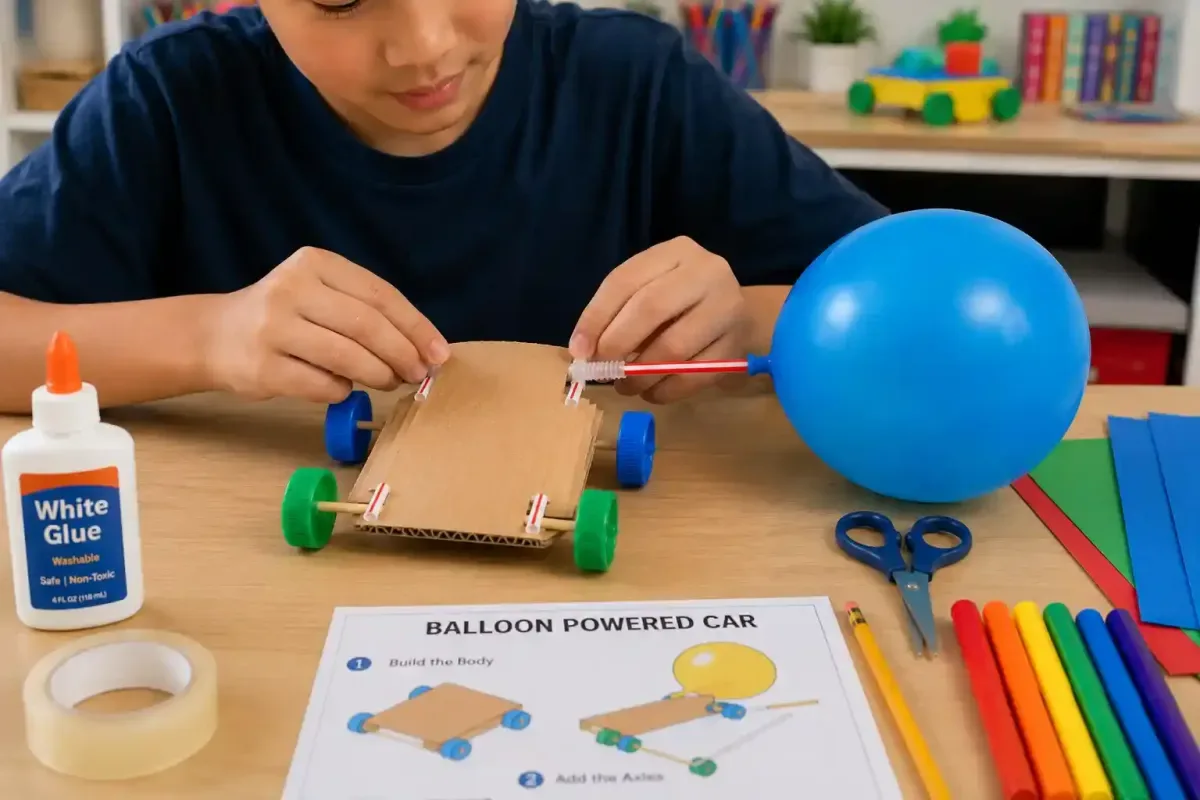
Take the flexible straw and place one end inside the opening of the balloon.
Secure it tightly with tape so air cannot escape around the connection.
Do not inflate the balloon yet.
Attach the straw to the back of the car so that the open end points toward the rear.
Think about what will happen when air rushes out of the straw.
The air will move backward.
The car should move forward.
This is where your simple craft project starts becoming a science experiment.
Step 4: Test Your Car
Find a smooth, flat surface.
A clean floor or long table works well.
Inflate the balloon without tying it closed.
Hold the end of the straw so the air stays inside.
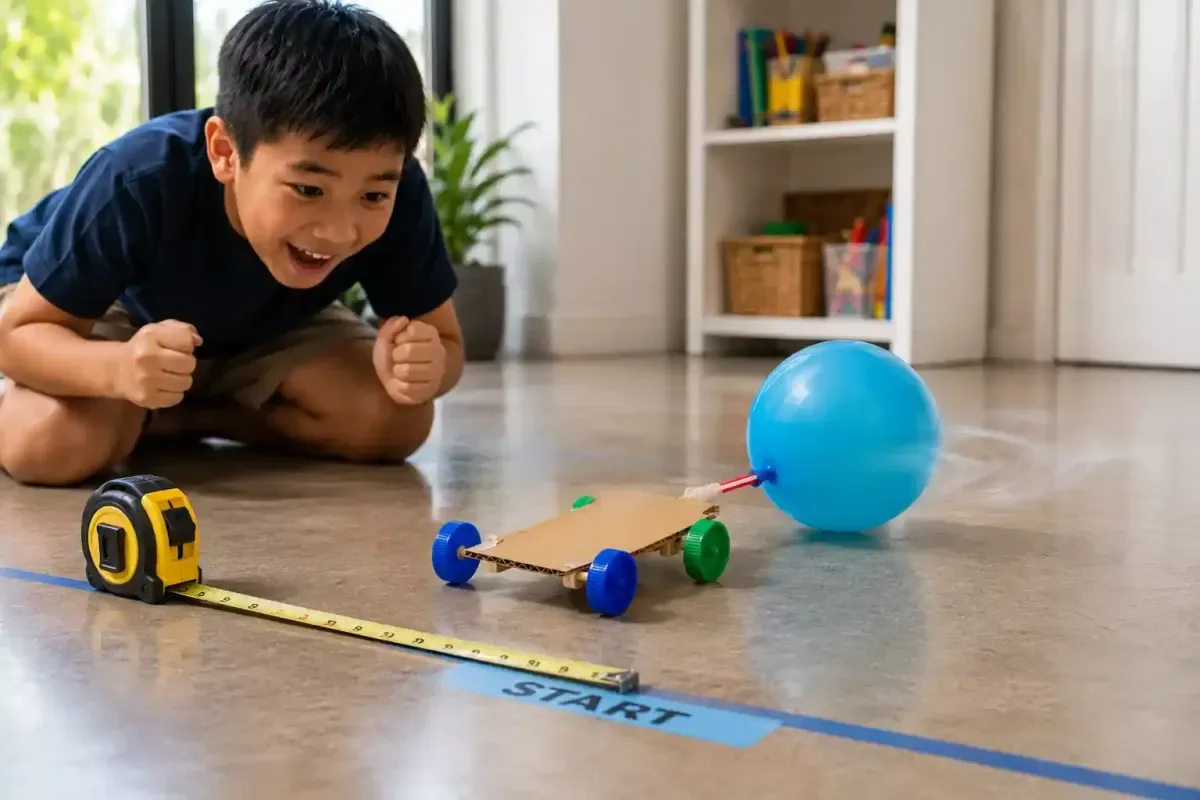
Place your car at the starting line.
Ready?
Three.
Two.
One.
Let go!
Watch what happens.
Does the car move straight?
Does it turn?
How far does it travel?
Does it move quickly at first and then slow down?
Write down what you notice.
You have just completed your first test.
Why Does the Car Move?
Here comes the science.
When you inflate the balloon, you fill it with air.
The balloon wants to push that air back out.
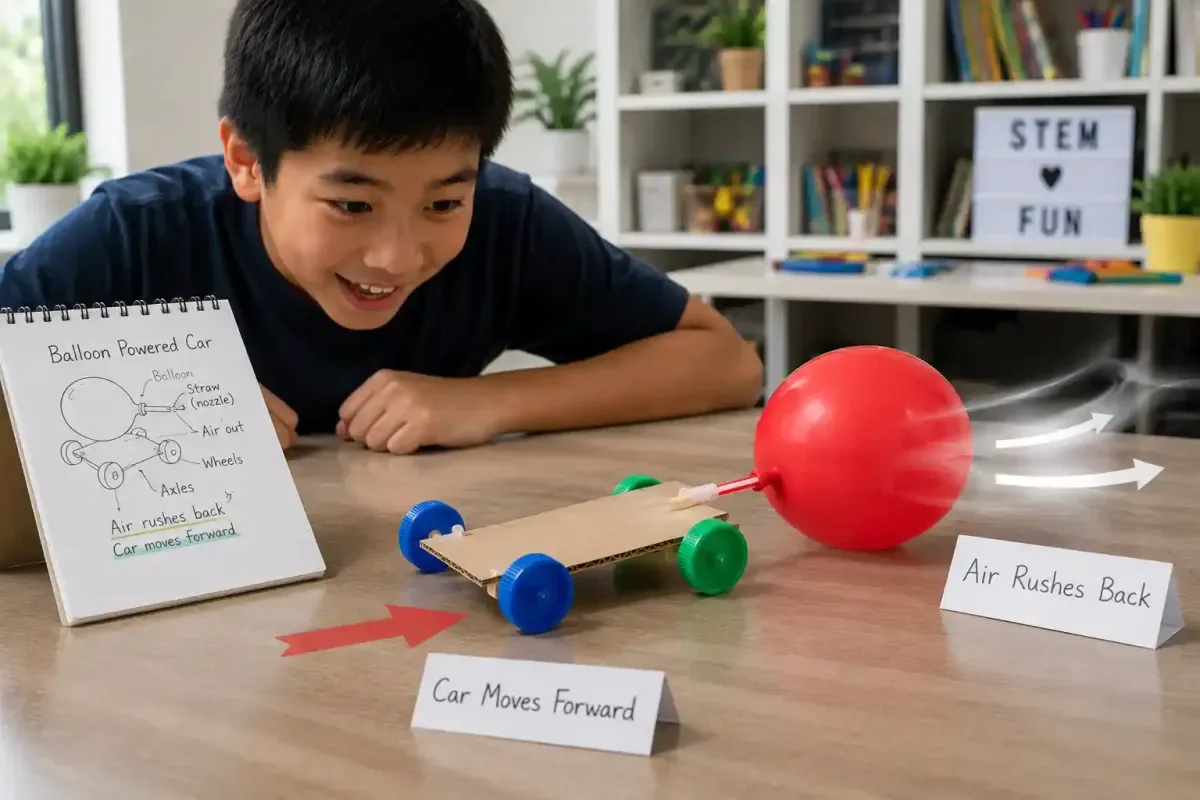
When you release the opening, air rushes through the straw toward the back of the car.
The escaping air pushes backward.
The car moves forward.
This is an example of action and reaction.
The same basic idea helps explain how rockets move through space. A rocket pushes hot gases backward, and the rocket moves forward.
Your balloon car is much smaller, of course, but the basic idea of forces acting in opposite directions is similar.
You have turned a simple balloon into a tiny engine.
What About Friction?
Your car does not have a completely smooth ride.
Friction is working against it.
Friction happens when surfaces rub against each other.
The wheels rub against their axles.
The wheels touch the floor.
These forces slow the car down.
That means your car needs enough force from the balloon to overcome friction and keep moving.
This gives you an important engineering question:
How can you reduce friction without making the car difficult to build?
Try making sure the axles are straight.
Make sure the wheels can spin freely.
Check that the wheels do not rub against the cardboard body.
Small changes can make your car travel much farther.
The Engineering Challenge
Now it is time to become a real car designer.
Test your car again.
This time, change only one thing.
You could try:
Moving the balloon higher
Moving the balloon lower
Using a larger balloon
Using a smaller balloon
Making the car body lighter
Making the axle supports straighter
Changing the wheel size
Decorating the car with less material
Do not change everything at once.
If you change several things together, you will not know which change helped.
Engineers test one idea at a time.
That way, every test teaches them something.
Can You Make It Go Farther?
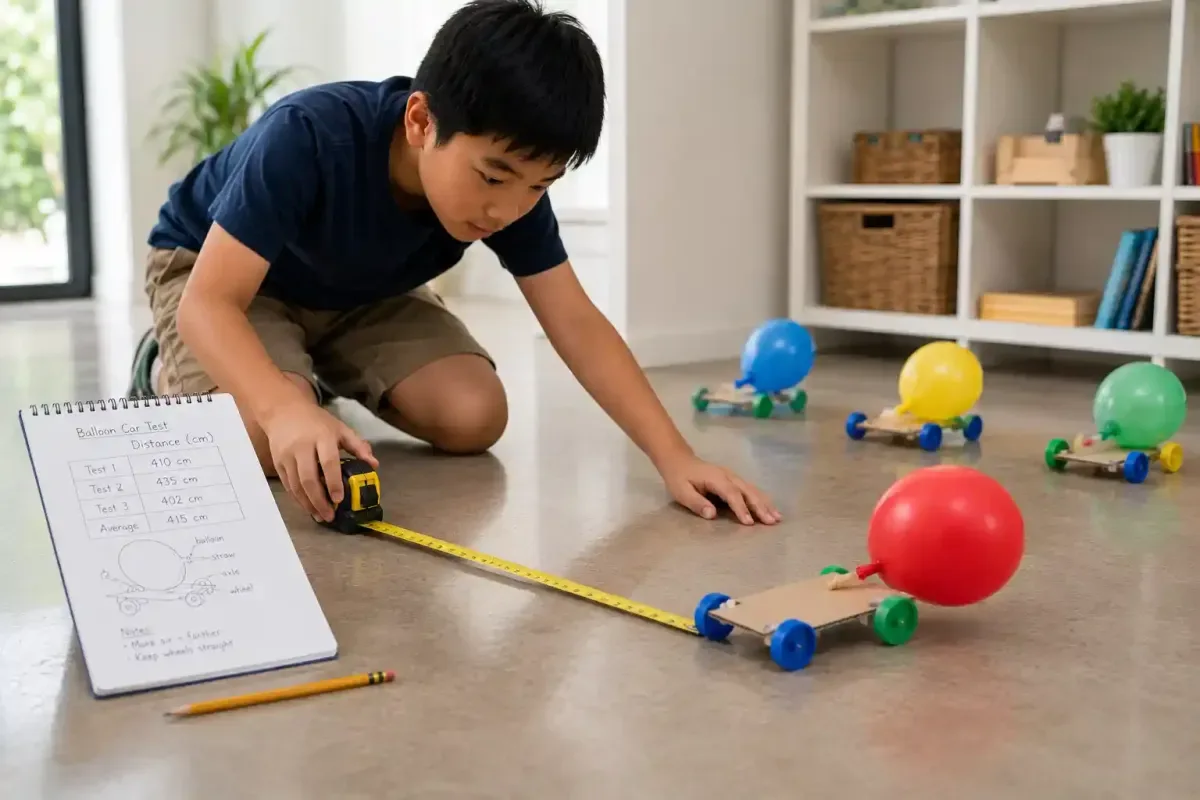
Create a starting line.
Measure how far your car travels.
Write down the distance.
Then make one change.
Test it again.
Record the new distance.
Keep your results in a simple table.
| Test | Change | Distance |
| 1 | Original design | ______ |
| 2 | Larger balloon | ______ |
| 3 | Straighter axles | ______ |
| 4 | Lighter body | ______ |
| 5 | Your own idea | ______ |
Which design traveled the farthest?
What did you change?
Why do you think that change helped?
Design Your Ultimate Balloon Car
Now that you know how the basic car works, create your own version.
You could make a racing car.
You could make a futuristic vehicle.
You could create a colorful space rover.
You could even build two cars and race them.
But remember, the fastest looking car is not always the fastest car.
A lightweight body may help.
Straight axles may help.
Smooth spinning wheels may help.
A well positioned balloon may help.
The best design is the one that works.
Did You Know?
The air inside a balloon is under pressure.
When you stretch the balloon and fill it with air, the balloon pushes inward on the air.
When you release the opening, the air escapes quickly.
That escaping air gives your car the force it needs to move.
You cannot see the air pushing your car, but you can see its effect.
That is one of the amazing things about science.
Sometimes you cannot see the force itself.
You can see what the force does.
Think Like an Engineer
Before you finish, answer these questions:
What made your car move?
What slowed it down?
Which design traveled the farthest?
What would you change if you built another car?
Could you make a car that travels twice as far?
Could you make two cars that travel at different speeds?
There is no single perfect design.
That is what makes engineering exciting.
You test.
You learn.
You improve.
Then you test again.
What You Learned
Today you built a working vehicle using simple materials.
You learned how air pressure can create motion.
You explored action and reaction.
You discovered how friction can slow a moving object.
You practiced measuring and comparing results.
Most importantly, you learned how engineers solve problems.
When something does not work the first time, that does not mean your idea failed.
It means you found something you can improve.
Keep Exploring
Your balloon powered car is only the beginning.
The next time you build something, do not just ask whether it works.
Ask why it works.
Ask what could make it better.
Ask what would happen if you changed one part.
That is how engineers, inventors, and scientists think.
So inflate your balloon, check your wheels, choose your starting line, and get ready to test your next idea.
Your best design might be the one you have not built yet.
Great Job!
You reached the end of today's learning adventure!